Showing posts with label wall art. Show all posts
Showing posts with label wall art. Show all posts
Trendy Kid's Art

So, this morning, I went to Hobby Lobby and HomeGoods to see what is currently trendy in wall art for kid's rooms. Why re-invent the wheel? And I got some good ideas!


Now, I have some basic ideas, and it is time to use my Vitamin C!
How about you?

Light Up Wall Art

Here is my own version of light up wall art. It also makes a neat glow in the dark. It looks good in the daylight too.
Here is what you need to make one (of course, change colors and design to make it your own):
- a framed artist canvas 15" x 30"
- fabric: white, black, floral (1/2 yard each will do the trick)
- white posterboard 20" x 30"
- Fiskars Everywhere Punch: square
- staple gun
- scissors
- yardstick
- pencil
- white craft glue
- duct tape
- string of white lights (mine had 50 lights)

Try this:
1. I recycled a canvas that I didn't like. If you have one to recycle, take the canvas off the frame. Also remove the center bar. If you have a new canvas, use as is with the canvas clean and white. You probably still want to remove the center bar.

2. Measure and cut the posterboard 15" x 30". Measure and draw lines 4" apart across posterboard. Use the square punch to punch squares in the second and fourth sections.
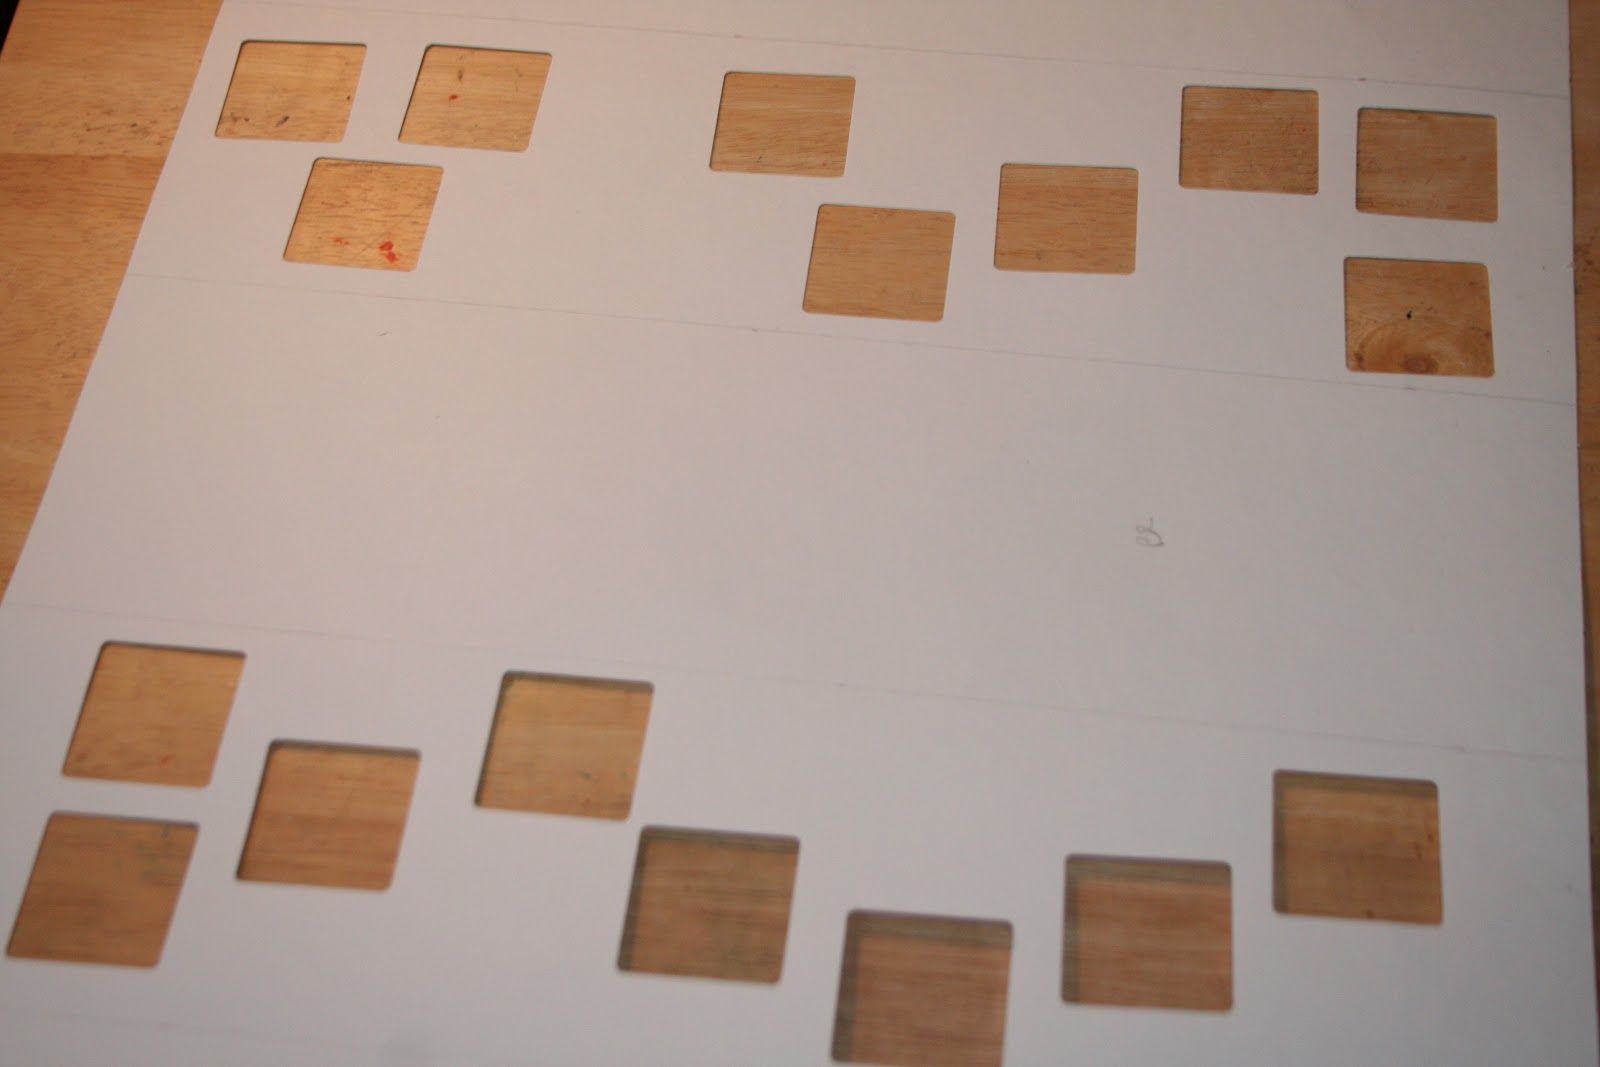


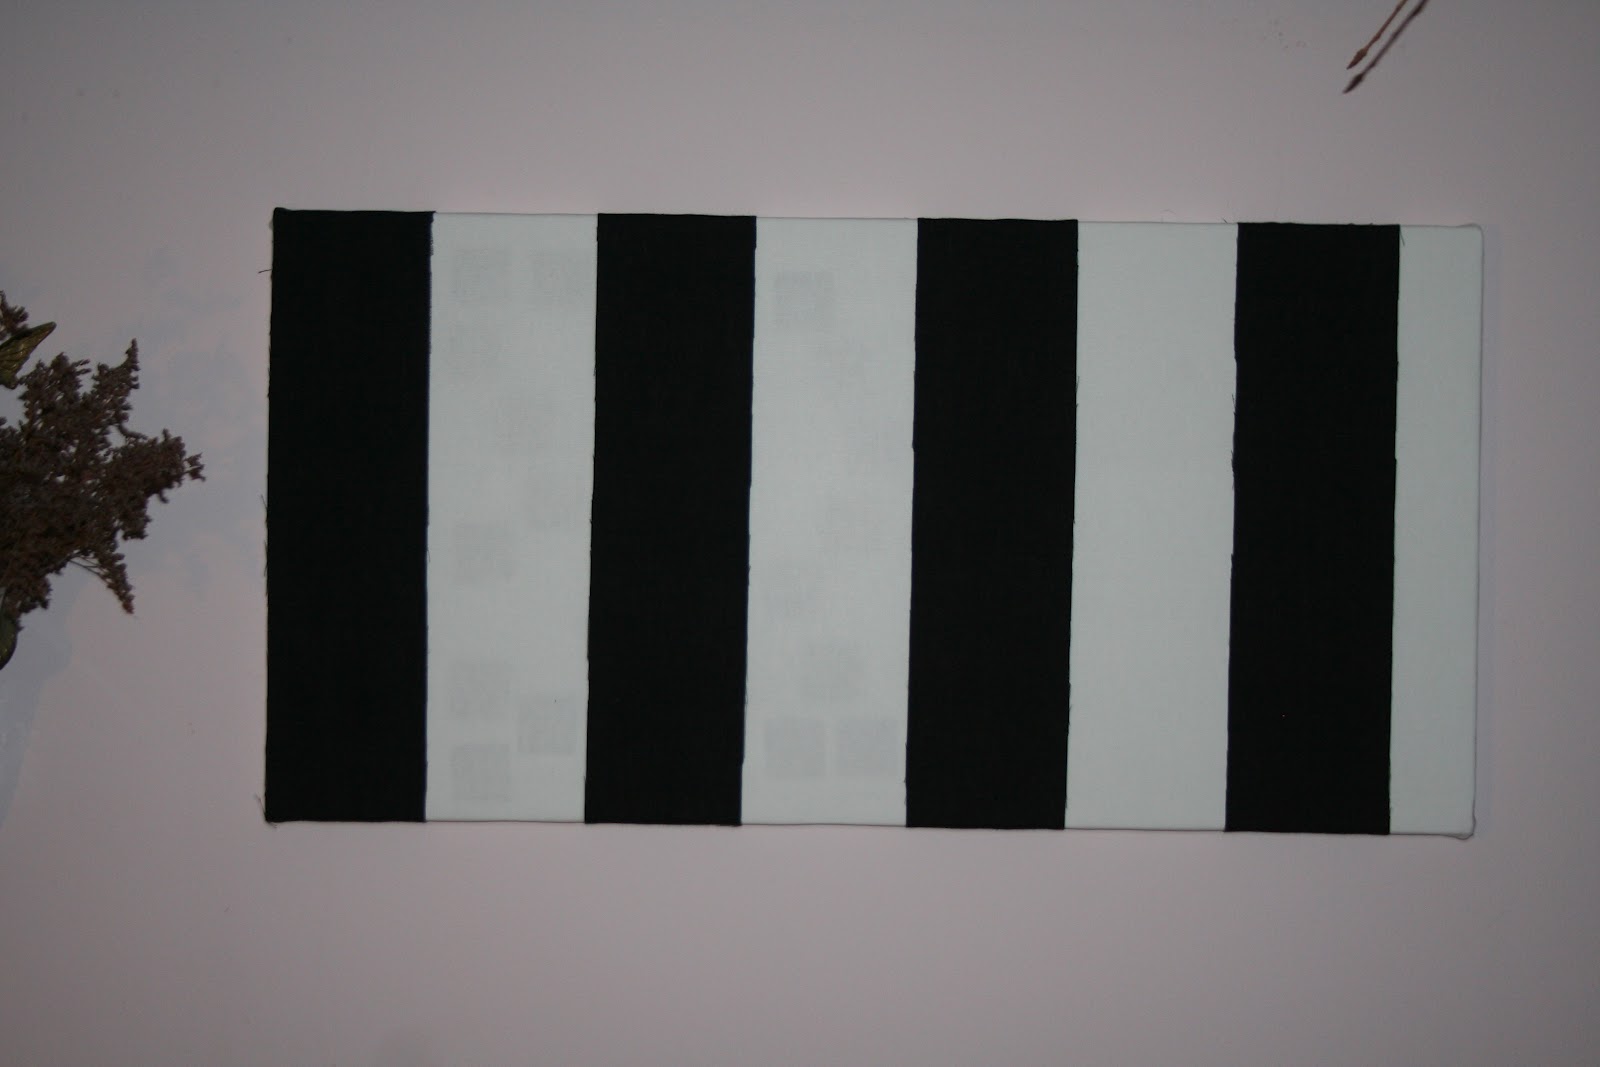
6. Measure and cut four 4" x 18" strips of black fabric. Wrap around frame, 4" apart and staple to back of frame. Don't cover up the punches you made.
Design Tip: If you can find striped fabric, it will cut out one step and one expense. I bought some this summer at IKEA. Look there.

7. Cut flowers out of floral fabric. I considered applying a solid piece of fabric and just cutting out the flowers on the left side, but I did not like the brown background with my black stripes.


Design Tip: If you use a thicker framed canvas, the lights will fit better, and the canvas will hang flatter against the wall.

Daytime. A nice contemporary piece of art.

Nighttime. Glowy! The square punchouts add a layer of visual texture, and are kind of a surprise when the lights come on.
Use your glowy Vitamin C!


Daisy Canvas Collage Tutorial

I find it important to make time to create, just for fun...or therapy...or creative exercise. It's good for me and good for you too! So, last night, I had nothing pressing, a gentle rain was falling, the windows were open, and I sat at my table to create. It was relaxing.
You know I really like to collage. It combines some of the things that I love about designing and crafting: color, painting, layering, doodling, and tearing paper.
Here is what you need to make this project. But, you know you should substitute materials and colors if you want, to make it your own.
- four 6"x6" canvases
- acrylic paint: sky blue, turquoise blue, turquoise green, white, lime green
- seasponge
- Fiskars punches: XL oopsie daisy, XL cloud
- Fiskars deckle Tear edger
- Scrapbook paper: assorted green prints, 2 deep pink prints, brown print, aqua print
- small piece of bubble wrap, about 4" x 6"
- Mod Podge for paper
- paintbrushes: large flat, small round
- scraps of 140 lb watercolor paper
- 6 Pop Dots
- white craft glue
- small buttons: 6 turquoise, 1 lime green
- fine point marker: black
- tape
- palette


On your palette, pour out white and sky blue. I did not want the clouds to stand out too much, so I added blue to the white. Dip your damp (not wet) sponge into both colors. Dab on the palette to mix the colors on the sponge.


Tear strips of green paper about 1" wide. I had three greens. Tear the strips into 1" square pieces.

Brush Mod Podge on canvas at bottom, Place paper squares over wet glue. Smooth with fingers.


Also tear one 12" x 1" strip of aqua paper. Cut it in half and Mod Podge it to the left sides of canvases....about an inch from the left edge.


Mod Podge 5 remaining punched daisies on strip of aqua paper on left side. Glue on button centers.
Use marker to doodle a bit on your canvases. Small spirals at ends of starbursts.....


If you use the thick canvases like I did, they can sit on a shelf or hang on the wall.
Find some time for a creative night to yourself. It is relaxing and fulfilling.
Take your Vitamin C!




Subscribe to:
Posts (Atom)