The view and the weather were fabulous (Belle Isle was out my window, freighters cruised by, the sunrise was awesome), the hotel was a little strange. It was in a very old building that used to be drug labs for Parke Davis. The big problem was the room was a cave. A really dark cave, that made it hard to paint.
I signed up for a self paced painting class online. I chose this artist/teacher because I really like her work, and I didn't really care that it wasn't deep, I just wanted to paint. The teacher was darling, but she taught almost completely without words. She taped herself doing a painting from beginning to end, added background music, and sped it up for us to watch.
In a way, it was good, but I wanted her to tell me why she chose some materials and a little bit about what she was doing.
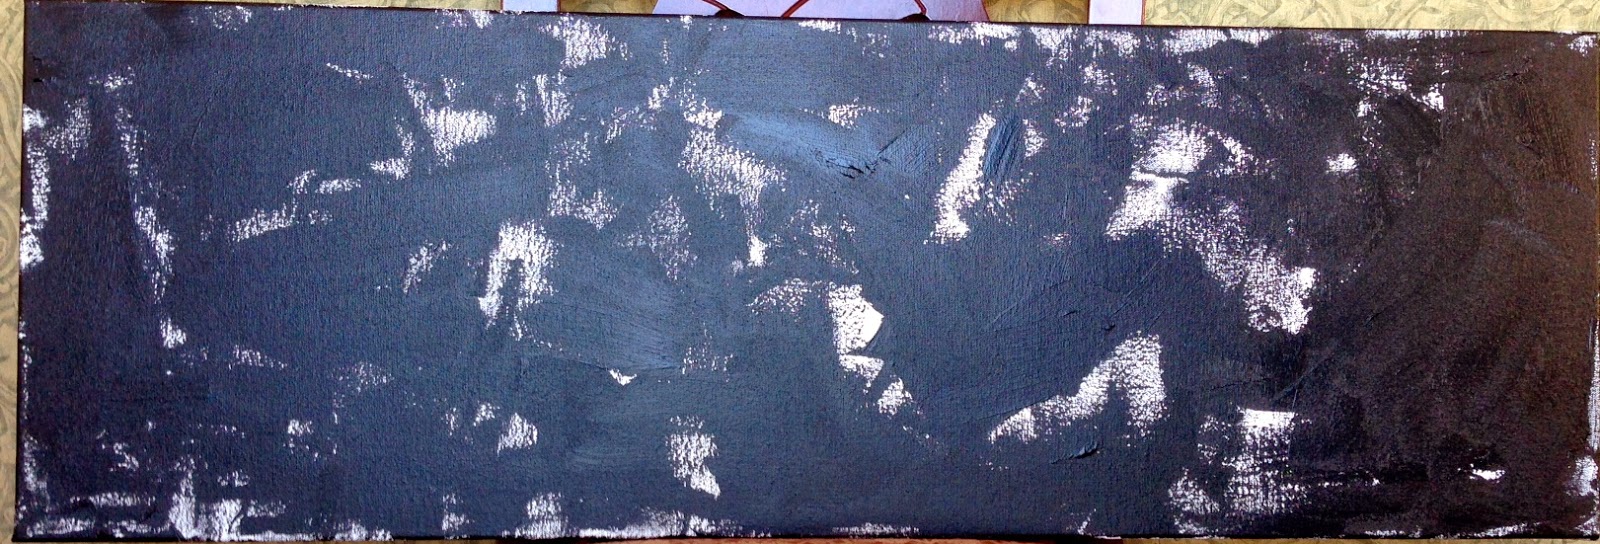
So, above you see step 1, scrubbing some black on my canvas.


When I started this, I thought I would do a riverscape with my hotel in it. Then I was not sure I wanted to keep a memory of that weird hotel for posterity. I decided on a painting of my 10 year plan for retirement. You can see my small cottage by a lake and a tree, my cool wind turbine, and my garden.


Maybe some day, you will come visit me in my small cottage by a lake and a tree and we will paint, sing some oldies, and tell stories about the good old days!
Meanwhile, let's use our Vitamin C!
Left or Right?
Right before I watched this, I took a quickie test to determine if I am right brained or left brained. Not sure if a facebook test concludes anything really, but it affirmed what I know about myself.
Immediately following that was this video. It is pretty awesome. I watched a couple times to figure out how it was constructed and noted how many details had to come together to make it work. Then I read the comments and laughed right out loud. There is every conceivable reaction to this video, and then some. Some of those people need a nap.
So, your thoughts? Was a right brain or a left brain responsible for this?
Someone took his Vitamin C!!!
Slinky Pencil Holder


The end.
Slinkys come in colors, junior size, giant size, plastic, and light up. Oh yeah, maybe I need a light up pencil holder.
What else can you make with a Slinky?
Use your Vitamin C!
Subscribe to:
Posts (Atom)


