Super Trimmers and Dress Forms
by
Kim
While I have never been super girlie, I am having a crush on dress forms. They seem to be available everywhere. Very trendy. I got this one at Michaels with a 50% discount, making it twice as much fun.
I love tools, don't you? For this project, I built my own tool. I wanted fringe cut with different paper edgers, but did not want the long process of using three pair of scissors. I hooked them all together so I could make three cuts at once.
To build my tool, you need:
- 3 pair of Paper Edgers, your choice
- duct tape
- craft wire
- 4 6mm beads of any kind
- wire cutters
Try this:
1. wrap a piece of duct tape around scissors to hold them together.
2. Cut a 12" length of wire, fold in half. Place the fold at one outside edge of handles. Twist two wires together twice. String one bead. Twist wires twice again. Sandwich second handle between wires and repeat twisting and bead stringing between second and third pair. Sandwich last handle between wires and twist together on outside of handle. Trim wires.
Repeat on bottom handles. Remove tape.
Awesome. Super trimmer!
To dress the form, you need:
- your super trimmer
- scrapbookpaper: 3-4 12" x 12" pieces that coordinate
- wire dress form
- hot glue gun and glue
- ruler
- pencil
- straight scissors
Try this:
1. Stack two pieces of paper together. Measure and cut strips 3 1/2" wide. Cut in from one edge with super trimmer, across the entire edge, as far in as paper edgers will reach.
2. Glue small folds or tucks, about an inch apart along straight edge of papers (still holding them together). This curves your strip slightly.
3. Glue paper fringe around dress form, lower than waist. This will be the bottom layer of three. It took two 12" lengths to go around my dress form.
4. Repeat steps 1-3, glueing each layer a little higher on the dress form. The third layer should be at the waist.
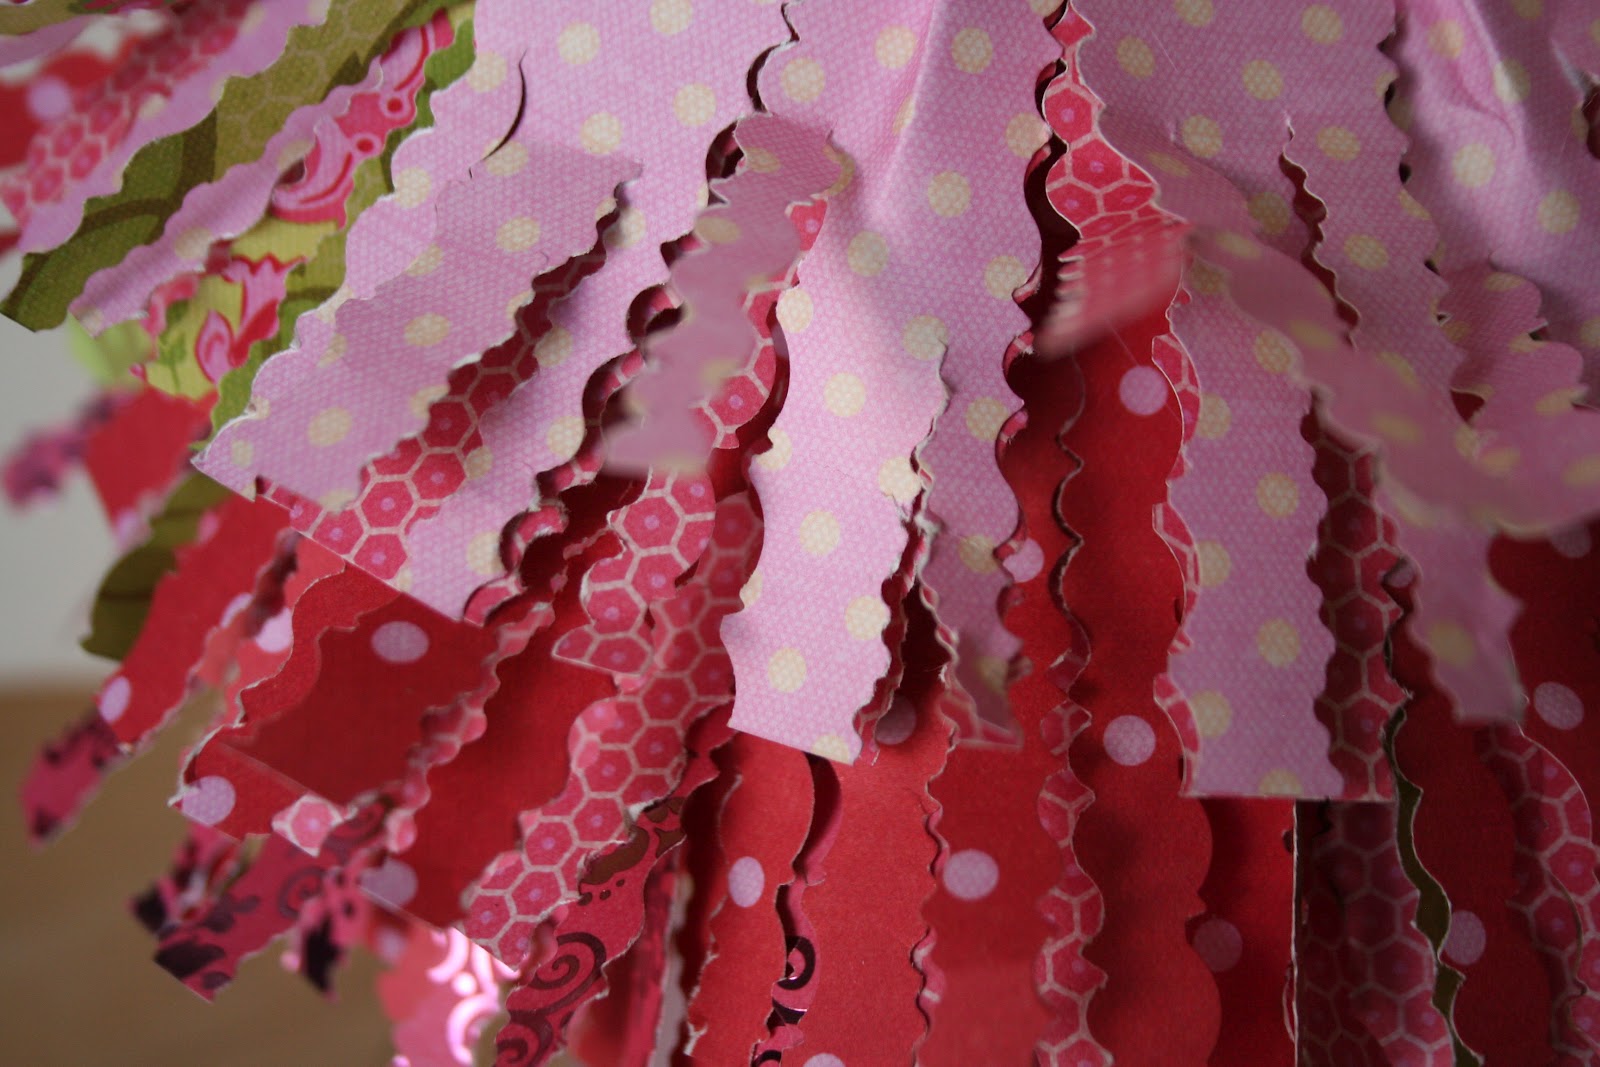
5. Fluff out the layers.
The different cuts gives your skirt fabulous visual texture. So cute!
6. Use two bracelets you already own, or take this excuse to string two new bracelets.
Place them around the waist of the dress form. They provide bling and a place to store a couple bracelets!
If your dress form has additional hooks at the top, use it to hold additional jewelry. I added another bracelet, also made of paper.
Adjust the process according to the design of your dress form, and the colors you like.
My super trimmer is still intact. Who knows when I might need it again??
Use your Vitamin C!


![]()

Contact Me:
kballor@aol.com


2 creative thoughts:
Leave a Comment