Showing posts with label earrings. Show all posts
Showing posts with label earrings. Show all posts
Button Giveaway Earrings


My first failure was due to the silver wire I tried to string them on. The buttons are thin and fragile (that is what makes them so pretty), and I broke a button. So disappointing!
My second failure was due to the Soft Flex wire I tried next. The buttons would not lie flat. Fine.
My third failure was due to the beading thread I tried next. The earring was just limp and held no semblance of a circle.
I was close to shelving the whole thing when I wondered about putting them on a hoop earring. Success...kind of. Not exactly the flat circle I was looking for, but the buttons still show nicely. I used Silamide to tie them on to the hoop. I pulled the thread tightly after each stitch through the buttonholes. It helped anchor the button to the skinny little earring bar. You can see I added some pearls to the button centers. I wrecked a couple beading needles pulling on the thread, but that happens, right?

Thanks again CIndy. I still have the larger buttons you sent and am thinking about how to use them next.
Use your Vitamin C!

Wavy Disc Beads

I have been having Fun With Wavy Discs. Love these earrings, (I am going to show you how to make them, keep reading....)

...and these sweet little pink bell flowers. They are in this month's issue of Bead Design Studio Magazine...both a lesson on how to make the wavy disc/bell flower beads, and how to make the necklace they are in. Find my column: First Glass. And if you are not a lampworker and the lesson on how to make the beads is lost on you, you can buzz over to my Etsy shop and buy some already made.


2. Gather up some small beads you like. I have seed beads in two sizes and some 4mm crystals. String them on silver head pins. Make 3-5 headpins with beads.


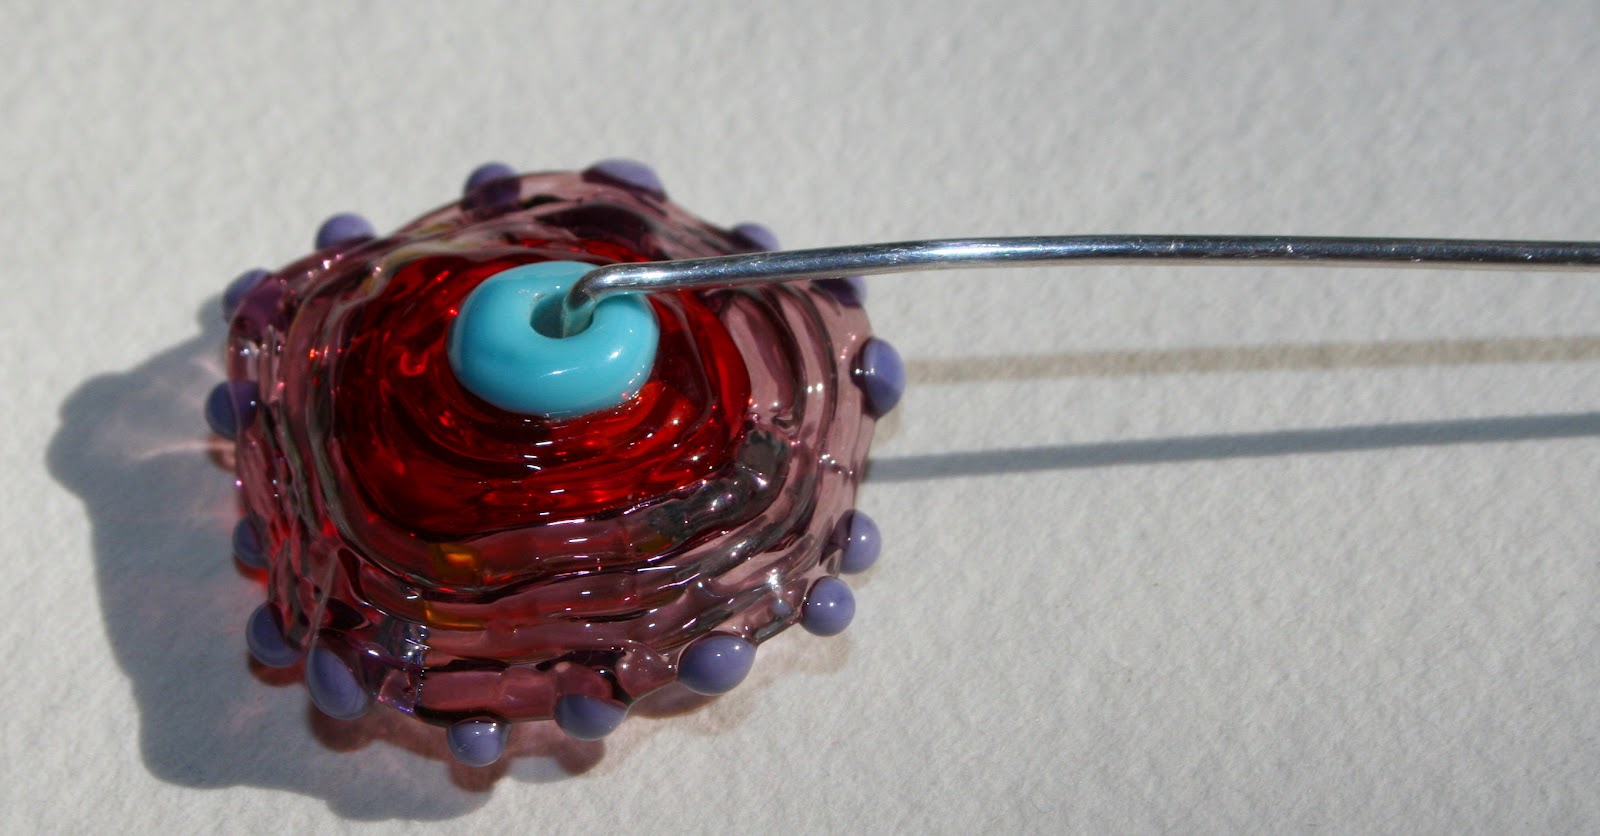

I had planned on taking these earrings apart and putting the beads in the Etsy shop, but changed my mind! If you want to buy a set of these purple and red beads, just post or email and I will make you some.
Take your Vitamin C and tell me what else you might do with wavy disc beads.


Fall Button Earrings

Actually, she lost a bet with me and now she has to show you these button earrings. HA! Take it away Imaginina!
Yes, never bet with Kim. Anyway, here I am. These earrings are so easy, a monkey could make them, you really do not need instructions. But, that was the bet, so..... Even if you live under a rock and have never crafted before, you can handle this project. Give it a try.
You need:
- 2 triangle shaped buttons
- Glitter Sample Pack
- white craft glue
- 2 big jump rings (big enough to reach one of the button holes)
- 2 fishhook earring findings
- chain nose pliers
Instructions:
Really? You cannot figure this out?
1. Choose three glitter colors you like for fall.
2. Squeeze the glue right from the bottle to cover approximately the bottom third of one triangle button. Shake one color of glitter to cover wet glue. Shake off the excess glitter.
3. Repeat to cover center of button with another of your colors of glitter.
4. Repeat to cover top third of button with last glitter color. Set aside to dry.
Keep in mind that this is a craft not an arithmetic problem, just estimate the thirds as you are applying glitter.
5. Repeat for the other button.
6. Assemble the earring. Using pliers, twist the jump ring open far enough to put an open end through a button hole. String a fishhook finding on the open jump ring. Close the jump ring, getting the ends to touch. Repeat with other earring.
You could make a bunch of these at one sitting. Also think about seasonal earrings and make them in Christmas colors or red/white/blue. If you don't have triangles, use any shape buttons.
I'd better see all of you wearing these earrings by next week.
Imaginina


Subscribe to:
Posts (Atom)

Visitors


